Body
OVERVIEW
This article will cover using the SFU Vault desktop application. Including:
INSTALL AND LOGIN
The SFU vault desktop client is another destination where users may manage files synced into the cloud and connected across multiple devices.
Users can make changes to the files and folders locally on their laptop or home computer, and these updated modifications will be indicated via desktop notifications.
INSTALLATION
The following desktop versions of SFU vault are available for download:
Visit the software download page to get started: Link to SFU vault Download page
The following instructions provide an example of the installation process with the SFU vault Windows Desktop App.
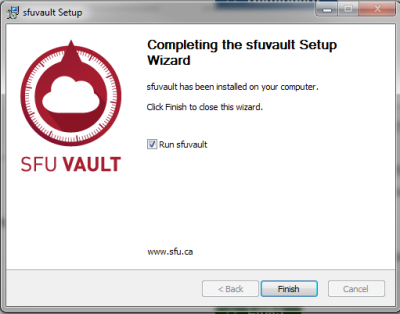
LOGIN AND CONNECT TO SFU VAULT
After succesfully installing the desktop client, SFU users must enter their computing ID and password to gain access to the vault.
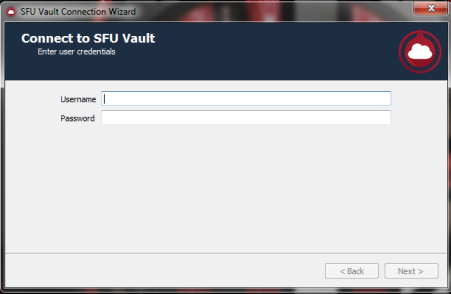
Once users have supplied their SFU Computing ID and password, the SFU vault connection wizard will start the sync process. The desktop app can either sync everything from the server, or offer the choice to sync a specific portion of items if the "Choose what to sync" option is selected.
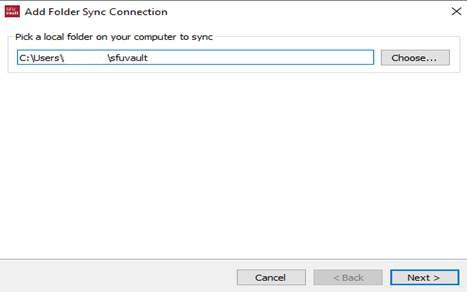
A local folder must be picked to house all of the items within the cloud, but this step can be skipped upon the first installation if needed.
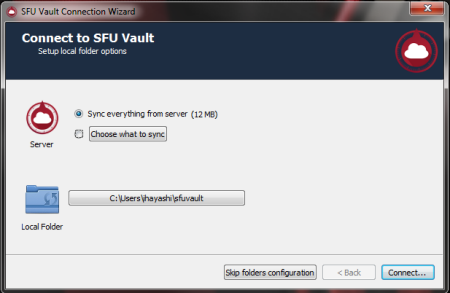
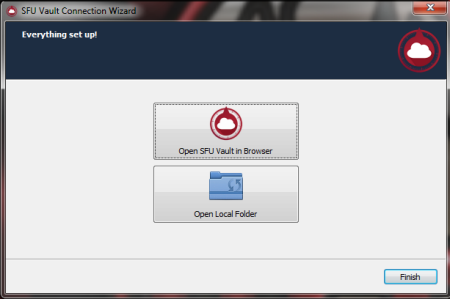
Select "Connect" to link the desktop client with the cloud server's storage. Additional content management can be done by selecting the button to open SFU vault in the web browser, or by choosing to view the collection of files through the local folder that has been configured with the installation.
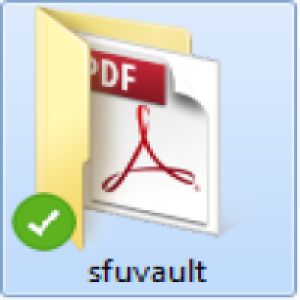
Once a local desktop folder is linked to SFU vault, the icon will be displayed with a green circle and checkmark. Windows desktops will also show a small cloud logo with the same green checkmark on the right side of the bottom toolbar.
Any additions, deletions, or changes to files within the connected desktop library will trigger a live sync which makes the same updates to the library in the cloud server.
Below are images of a file folder connected to SFU vault, and examples of the desktop notifications which identify sync activity results or library updates respectively.

UPLOADING FILES
FILE OPERATIONS
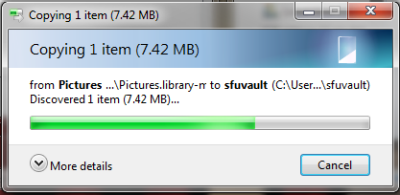
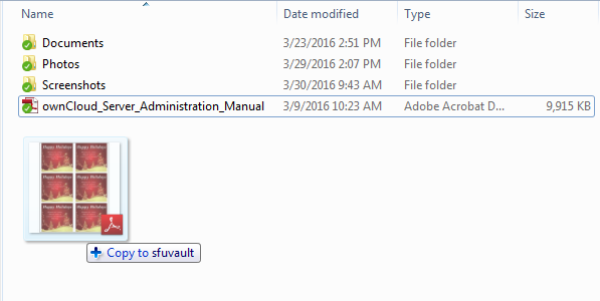
Users can begin storing more items in the cloud by opening their file explorer on the desktop and copying files into the SFU vault folder.
First, open the destination folder by clicking on the ellipsis (...) on the right side of the main "Account" menu of the desktop app.
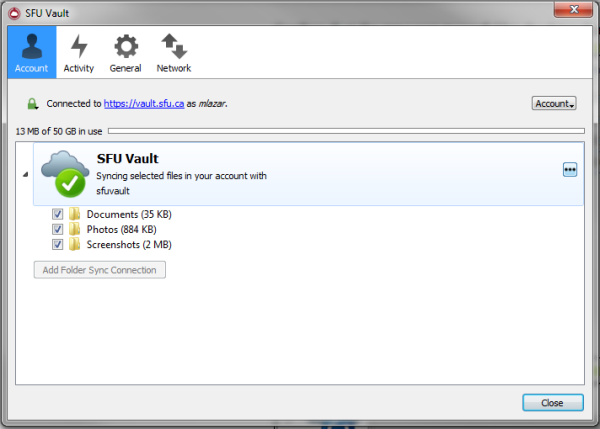

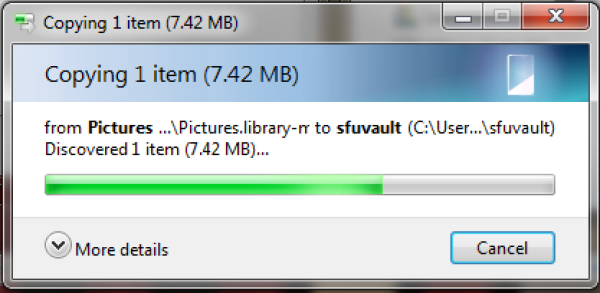
With the destination folder open, drag any new files into the SFU vault space to upload them into the cloud library. The sync should start immediately afterward and the status bar in the desktop app screen will display the upload progress.
Confirm that the sync was succesful by checking that the copied file(s) has reached the SFU vault web browser or mobile app.

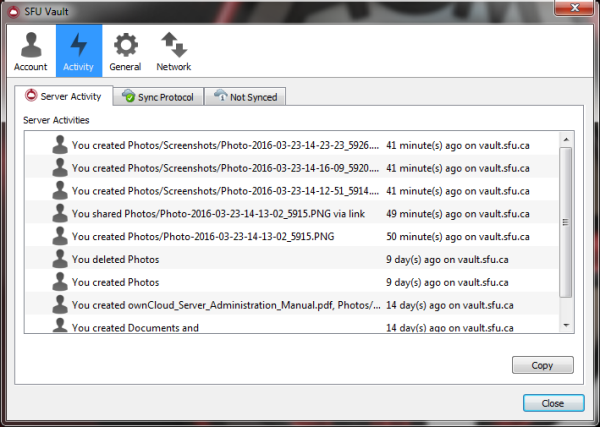
Users can also verify that their upload was a success by checking the "Activity" menu of the SFU vault desktop app, which is marked with a lightning bolt icon.
This section monitors the activities that occur for both the server and local sync protocol, and an additional category is in place for items that were not synced into the cloud storage.
SFU VAULT 2.8.2 UPGRADE: POST-CONFIGURATION
The SFU Vault 2.8.2 upgrade was completed on June 25, 2021. The instructions below are for those who were already using the SFU Vault desktop application. As a result of the upgrade, you will be presented with a dialog to make an unexpected "sfuvault2" folder.
1. Choose the option to synchronize everything from server (recommended).
2. Click the path (it's a button) to refer back to the old, "sfuvault" path.

How to get rid of your second sfuvault folder in case it was created.
Step 1: Delete the old "sfuvault" folder.
Step 2: Open the desktop client and click on (...) on the right side then click on "Remove folder sync connection"
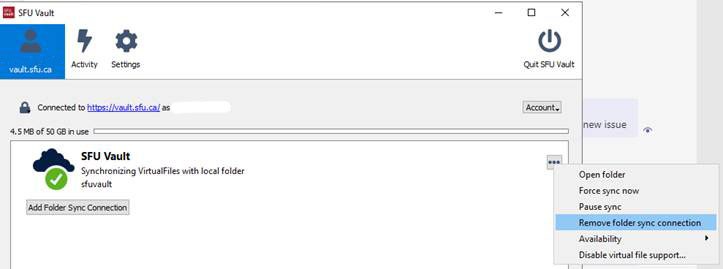
You will get the message that the sync will be removed but the server-side will be unaffected.
Step 3: After the sync has been removed, go to finder and renamed "sfulvault2" to "sfuvault""
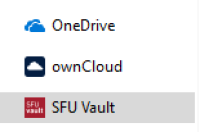
Step 4: Go back to the desktop client and added the sync folder connection and pointed it at "sfuvault" folder.

